


Follow Us on Pinterest
Unable to load Pinterest pins for 'FrancesSuzanne'

Mar
4
Although the girls gave us a starting list of “top 10″ Disney related items for their “Sewing for Disney” wardrobes, we always had the final say on which outfits made the cut . . .as well as the patterns and materials to use for them {except one}.
Of ALL the Disney garments sewn, there was only ONE that was not on anyone’s top 10 list. It was completely off the girls’ radar as a potential sew.
BUT . . . it was ALL that LG would talk about.
ALL. THE. TIME.
“Hey, ******* {insert family member’s name} . . . you gonna ride “Slinky Dog” with me??” Over, and over, and over again.
We had bought a book {affiliate link} to help us plan for the upcoming trip, and she would gravitate towards “Slinky Dog’s” page EVERY. SINGLE. TIME. the book was viewed. We had to read the description over, and over, and over again.

Do you see a theme?
We schemed a bit and decided a “Slinky Dog Dress” was in order for this child.
We were in over our heads with some of the materials used, and actually bought 2 potential cording for the coil.
Still, when it was all said and done, the end result worked!! We actually pulled it off . . .
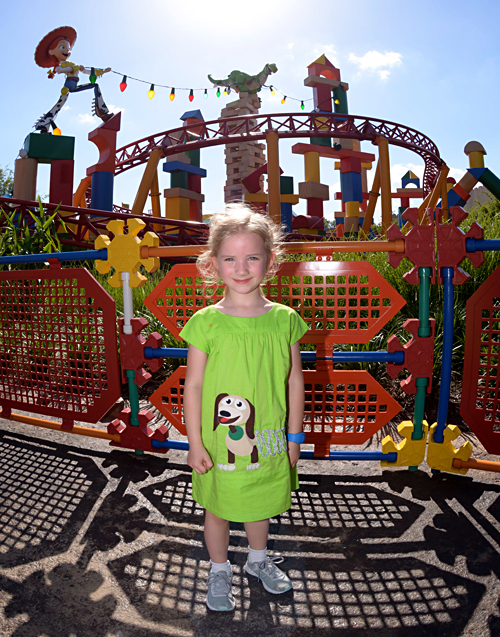
So well, that it scored Little Miss Slinky Dog an “extra Toy Story area fast pass” that day from a Disney cast member in another area of Hollywood Studios.
She opted to use it on Toy Story Mania for a 2nd time, instead of a repeat ride on Slinky Dog Dash.
The cast member at that ride told her to “keep it”, giving her yet another “free pass” to something in Toy Story Land.
Since her sisters hadn’t gotten this extra perk, they used the 2nd round of the “free pass” to ride Slinky Dog Dash for a 2nd time that day. What a memory!
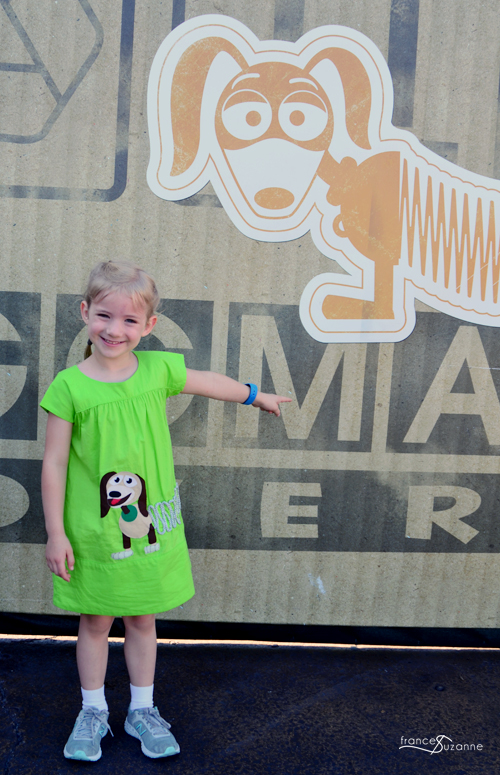
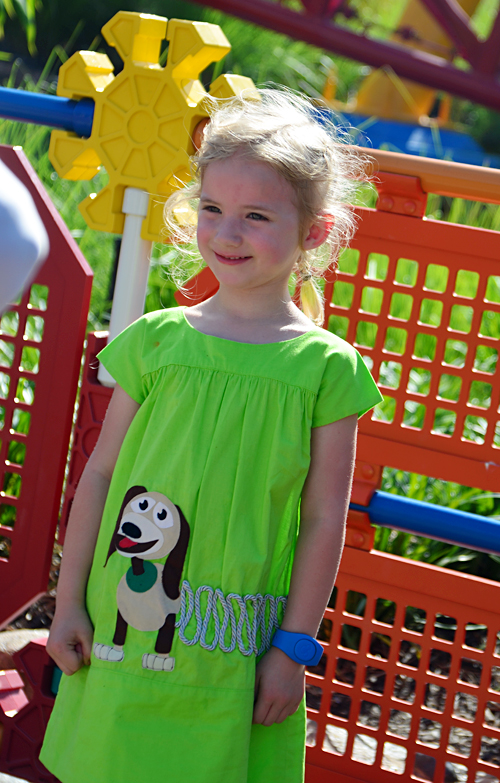
For the dress, we sewed the Oliver + S, Ice Cream Dress in a size 4. *SPOILER ALERT: each child received a Disney outfit using this pattern! Just like last time we visited {HERE and HERE}, the Ice Cream Dress was a terrific “blank slate” to create our visions.
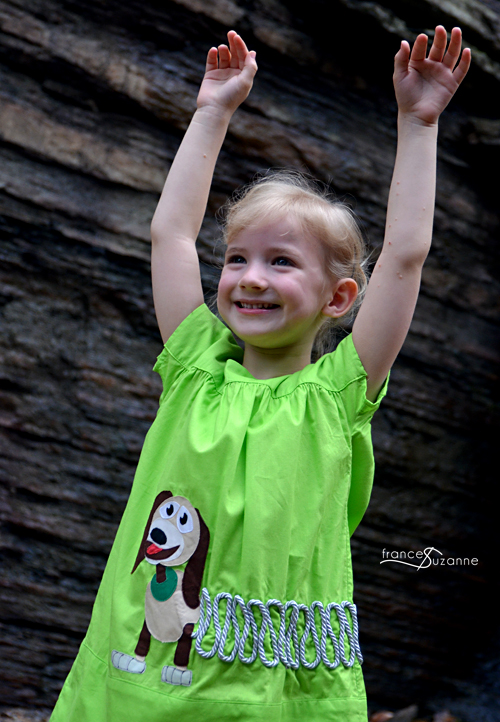
We chose a bright green fabric for the dress, as an ode to the Toy Story martians.
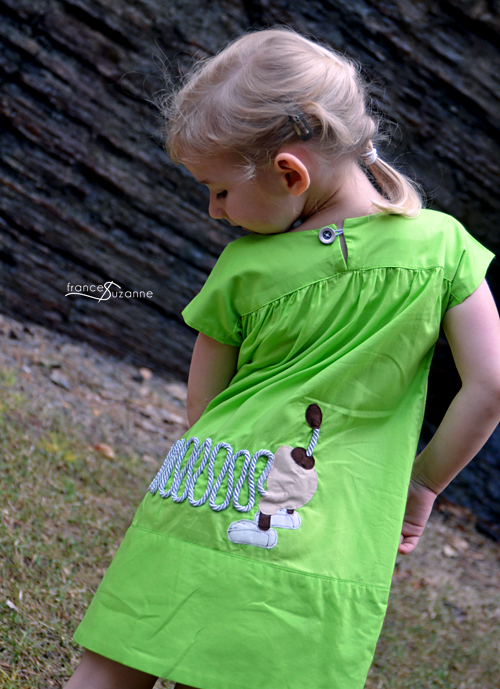
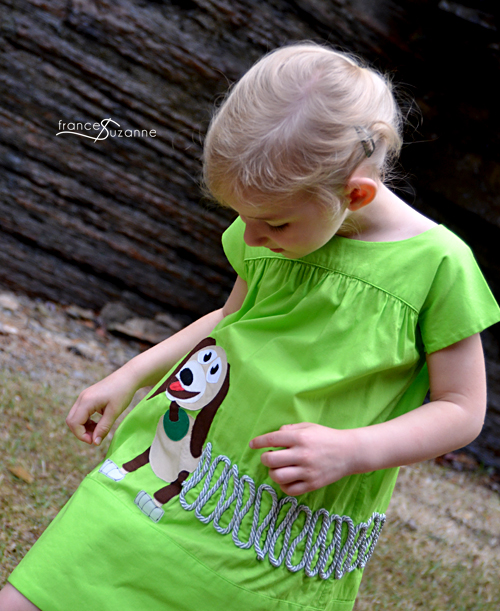
Slinky Dog was added across the front of the dress, and wrapped around and finished off on the back of the dress.
We {again} found a Slinky Dog image online, and worked from there. The steps were similar to Elsa’s coronation skirt.
The cording was positioned first – since it would need to be covered and secured at both ends with Slinky’s front and back sections.
In order to secure the cord in place, we stitched it with invisible thread for extra support.
For the front and back sections of Slinky Dog, several copies of the design was printed on sulky sticky fabri-solvy {affiliate link} – a self-adhesive, water soluble stabilizer.
Then, we positioned the copied design on the skirt portion of the dress – as a guide for placement of the individual pieces.
Another set of the design was printed on the same stabilizer and placed on the appropriate colored fabric {white, cream, tan, dark brown, black, green, and red}. While the colors weren’t an exact match to Slinky Dog, we liked them better than the pale yellow option.
These designs were not cut out exactly . . .instead, we left space around each portion of the design.
Heat n’ bond {affiliate link} was positioned on the opposite side of the pieces, and cut individual pieces out precisely – except for areas that would eventually be covered by another piece. For instance, the Slinky’s legs would be covered by his body and feet, so they weren’t cut precisely. Also, a portion of the ears were not cut precisely since they were positioned as one of the first layers – going underneath the Slinky’s face area. It truly was a layering puzzle!
We then positioned the individual heat n’ bond pieces on matching copied design on the main dress, and pressed in place.
After peeling off the self-adhesive, water soluble stabilizer from the top of the fabric design pieces, we stitched the individual pieces in place.
Again this part of the process wasn’t difficult, it just required some thinking on the steps needed to layer the design pieces appropriately from the background to the foreground.
We added a little detailing by machine stitching Slinky’s feet in a darker thread. Again, trying to give it a little dimension {and detailing} in the process.
This outfit definitely stretched us a bit – on the creativity department, as well as the construction of it. There were lots of giggles during construction, and anticipation on what LG would think of her surprise outfit.
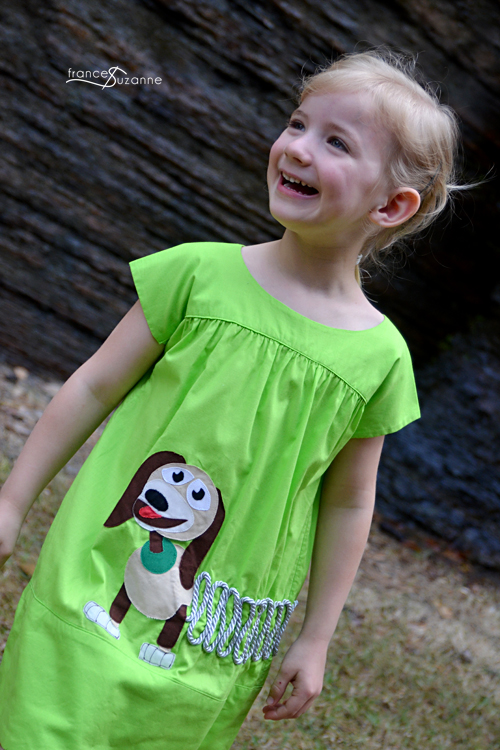
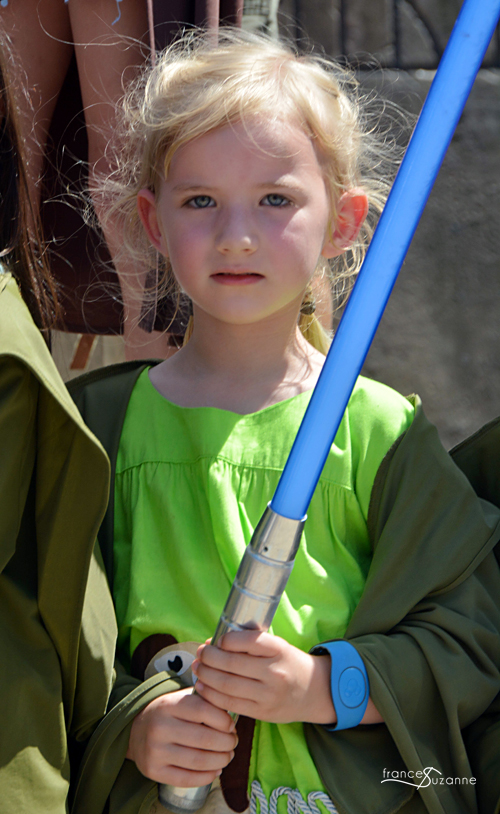
She was shocked and ecstatic. An older sister was envious . . . until she saw what we had in store for her to wear that day at Disney!
![]()

Just the cutest EVER! Love that it was such a surprise for her! She (and you) will remember it forever.
Yes, it was definitely a memorable “reveal” . . . I think all of the nieces were a bit speechless initially :). Always fun to throw them a curveball.