Recent Comments
Subscribe Via Email
Find us on Facebook
Follow Us on Pinterest
Unable to load Pinterest pins for 'FrancesSuzanne'
Feb
27
ONE HUNDRED TWO PIECES . . .
If you were wondering.
Not that we were counting . . .
Ummmm, REWIND . . .
Okay, so we were TOTALLY counting! And, when it was all said and done – this garment held the most individual pieces of our “sewing for Disney” collection.
Please note: this was NOT a difficult process. . . just a time consuming one . . . that had multiple steps.
But we digress. . . .
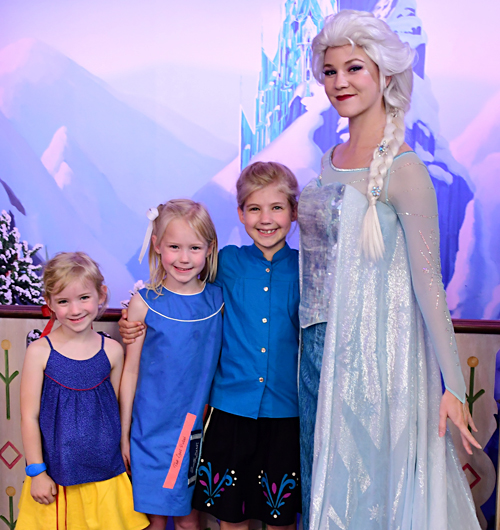
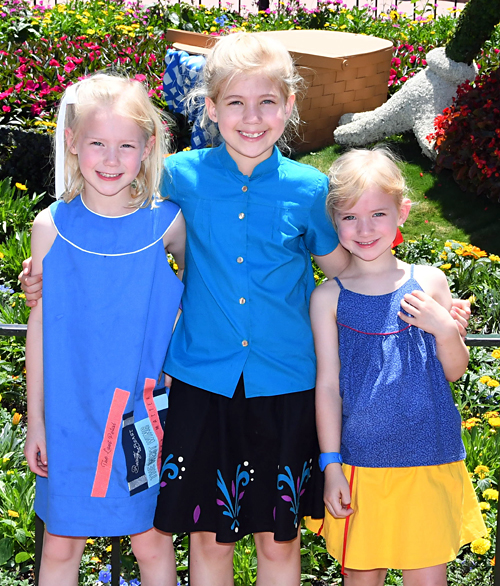
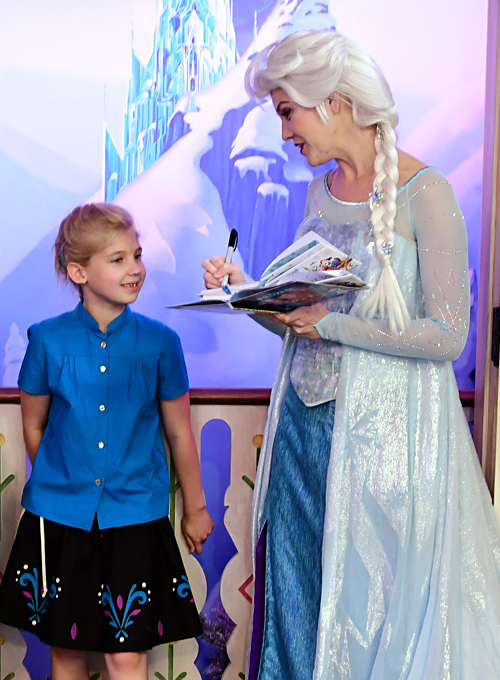
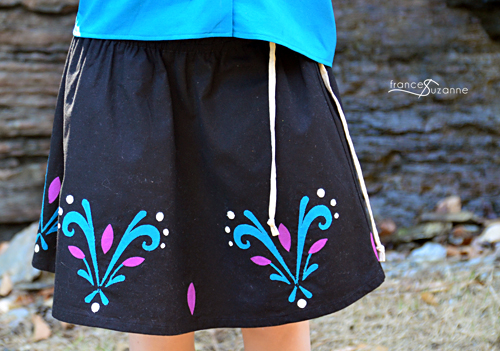
Since LG had her own “Elsa attire“, we opted to sew EA a garment that was a nod to Elsa’s coronation. The teal, black, gold, and magenta color combination intrigued us enough to give it a go!
We sewed an Oliver + S, Music Class Blouse in a size 8 – adding 2″ to the hem length.
It was “all about the details” with this garment, so we sewed the etched, gold-tone buttons with magenta thread to match the skirt accents.
The skirt was the Oliver + S, Swingset Skirt – sewn as a size 7. And, then it was back to the details! Nothing says ROYALTY like glitter, so the lining fabric was just that!
We know, we know . . . MORE GLITTER REFERENCES! Who ARE these sewists??
We utilized the same fabric we used for CL’s Tinkerbell shorts, and it added another intriguing dimension to the finished product.
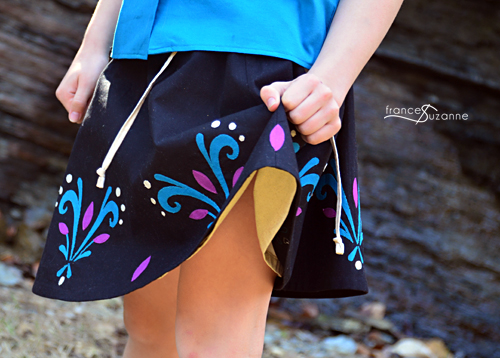
We found Elsa’s coronation design online and printed it on sulky sticky fabri-solvy {affiliate link} – a self-adhesive, water soluble stabilizer.
Then, we positioned the copied design blocks on the skirt – as a guide for placement of the individual pieces.
Another set of the design was printed on the same stabilizer and placed on the appropriate colored fabric {gold, teal, and purple}. The designs were not cut out exactly . . .instead, we left space around the designs.
Place heat n’ bond {affiliate link} on the opposite side of the pieces, and cut individual pieces out precisely – except for the teal pieces that a purple bud would overlap on top.
Position the individual heat n’ bond pieces on matching copied design blocks on the skirt fabric, and press in place.
Peel of the self-adhesive, water soluble stabilizer from the top of the fabric design pieces {except for the small, gold polka-dots}.
Stitch individual pieces to the main skirt . . .
all ONE HUNDRED TWO of them.
But again . . . who’s counting???
2 Comments
Oldies, But Goodies
Jan0 Posts
May0 Posts
Jun0 Posts
Jul0 Posts
Aug0 Posts
Sep0 Posts
Oct0 Posts
Nov0 Posts
Dec0 Posts
Aug0 Posts
Oct0 Posts
Dec0 Posts
Jan0 Posts
Feb0 Posts
Mar0 Posts
Apr0 Posts
Jan0 Posts
Mar0 Posts
Jul0 Posts
Aug0 Posts
Sep0 Posts
Oct0 Posts
Nov0 Posts
Dec0 Posts
Jul0 Posts
Nov0 Posts
Dec0 Posts
Apr0 Posts
Jan0 Posts
Feb0 Posts
Mar0 Posts
Apr0 Posts
May0 Posts


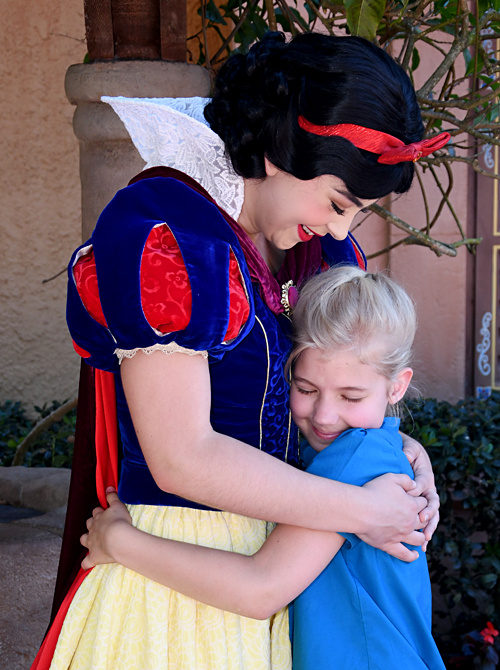
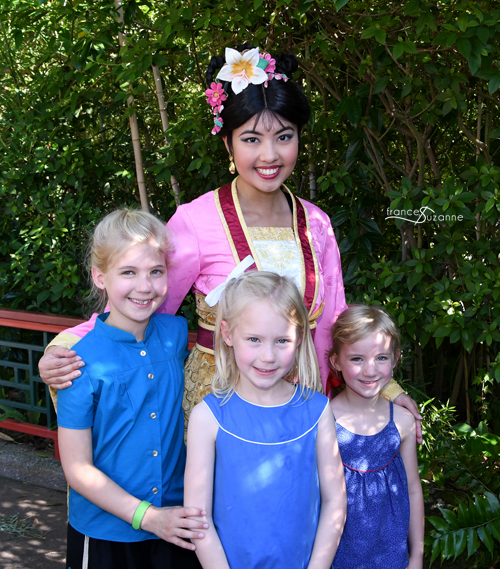
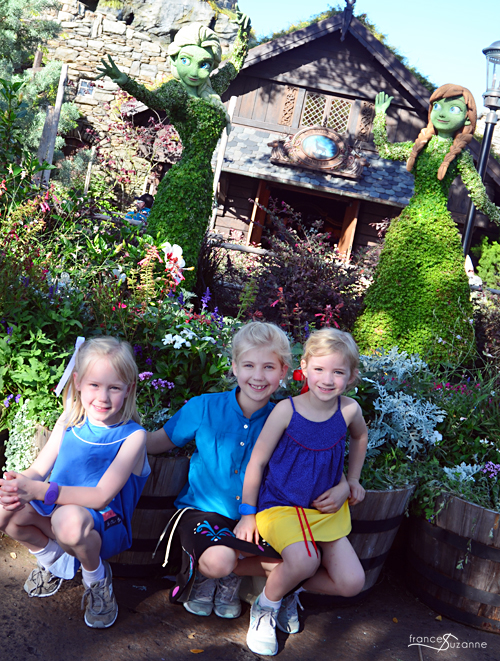
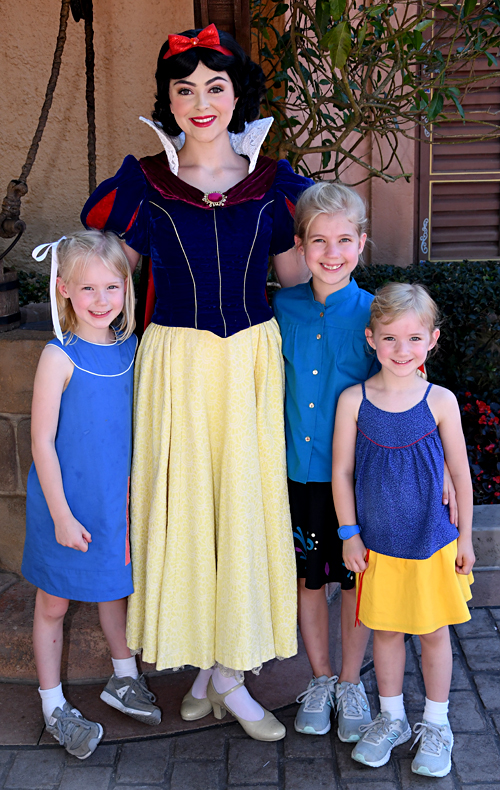


Beautiful! So much work and so very worth it judging by the big smiles
Yes – it was {thankfully} “EA approved!!” Not a hard process – just a bit time-consuming.