Follow Us on Pinterest
Unable to load Pinterest pins for 'FrancesSuzanne'

Aug
27
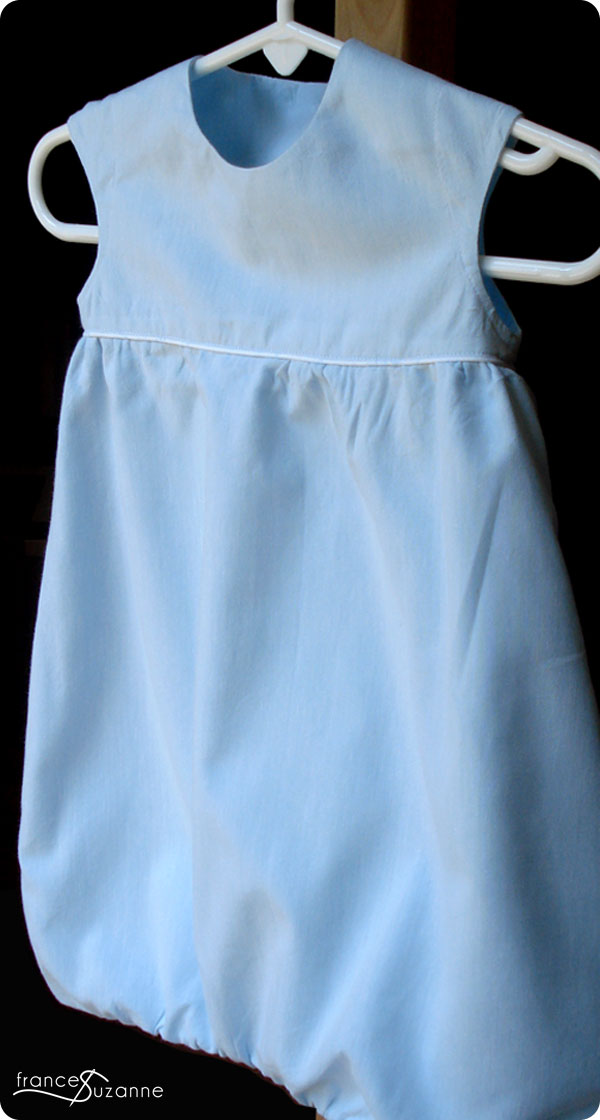
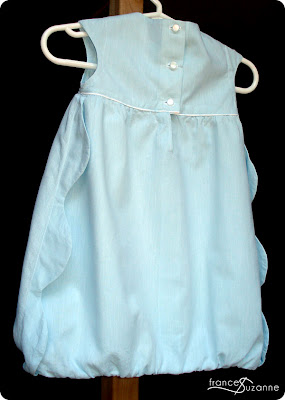
Awhile back, we had taken the Oliver + S Bubble Dress pattern, and revamped it to make some bubble sacques for “Baby Girl.” Being pleased with the results, we decided to make a bubble dress for her…this time, however, following the pattern directions from beginning to end. Well, with one minor addition: piping (surprise, surprise!)
Thinking back, there isn’t much to say about this sewing venture except we loved it….and were in such a happy place that we forgot to put a label in it as we sewed along! We used Kaffe Fausset’s ice blue shot cotton that was ooh-laa-laa to the touch.
Perks to the Oliver + S Bubble Dress:
1. It wasn’t a time-consuming project AT ALL! In fact, the longest part of the process was tracing the scallop top-stitching line to follow (because we’re not good enough to tackle it blindly).

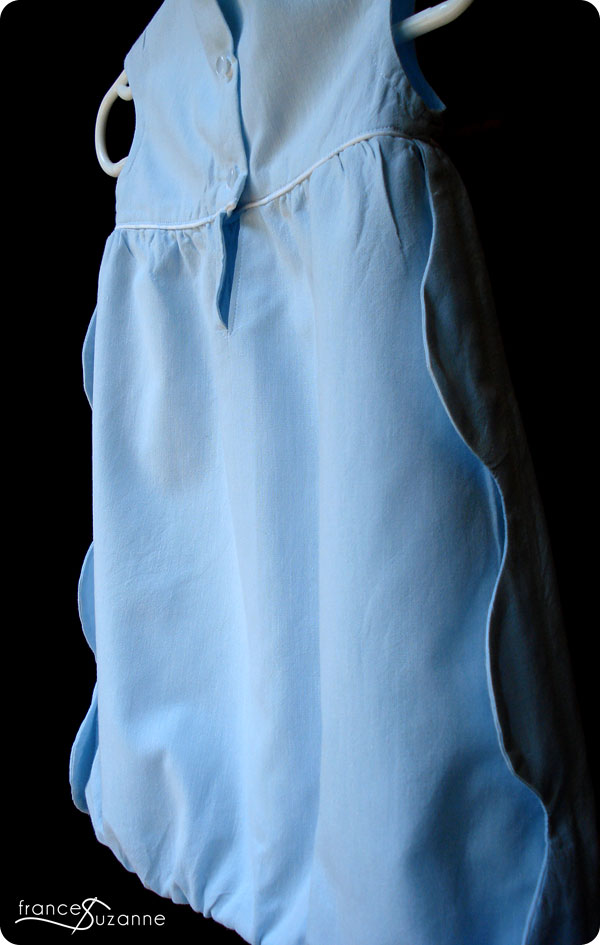
2. The placket was absolutely heavenly! Plackets generally make us cringe, but these directions were detailed and thorough, guiding us through the entire process flawlessly. This was MAJOR! It was our first placket we’ve actually been pleased with its turnout. If only all plackets were made like this…

If you still need more guidance on sewing the placket or the bubble dress in general, there are some excellent tutorials about it here on the Oliver + S site.
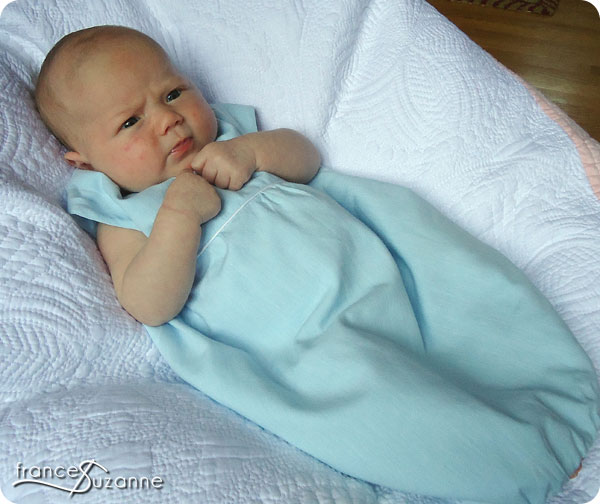
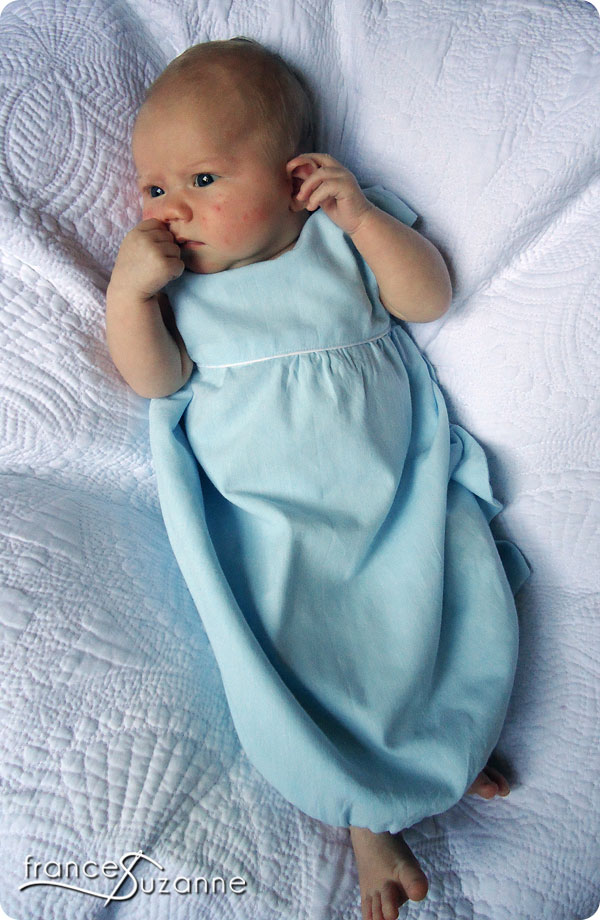
We had to include some “Brady Bunch” poses of the niece while shooting on the ‘burst setting’ on our camera. The ‘burst setting’ is PERFECT for newborn pictures….and one we were made aware of when the “Big Sister” was younger!
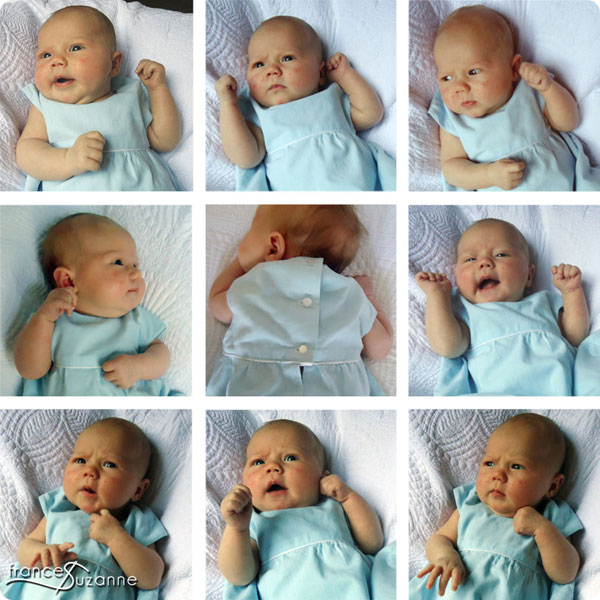
Now…enough of these pictures….It’s naptime for someone! Sleep tight, sweet baby!

![]()