


Follow Us on Pinterest
Unable to load Pinterest pins for 'FrancesSuzanne'

Oct
29
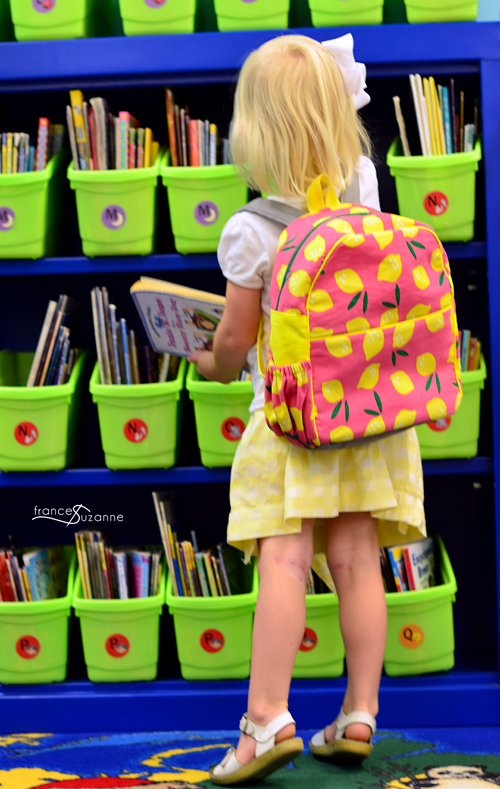
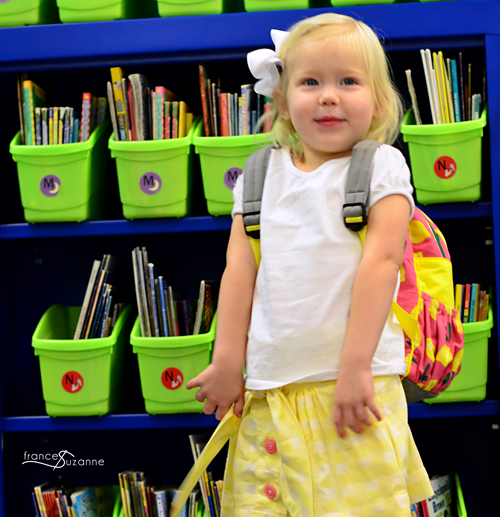
And here for the second installment of “Backpack Sewing” is CL! That’s right. CL began “school” this year . . . albeit, for three year olds, and only 3 times a week!

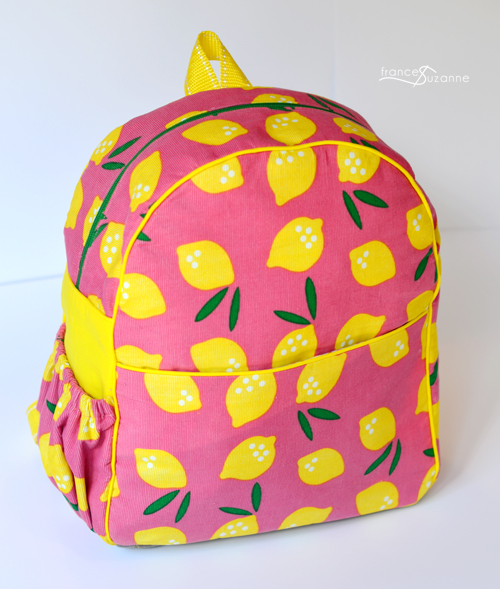
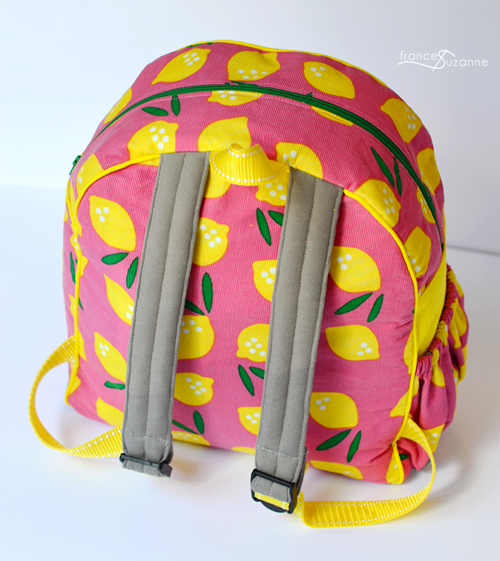
We once again used the Made by Rae, Toddler Backpack. However, this time we did NOT enlarge the pattern. *Truth be told, we actually sewed this backpack first in the progression. And, after placing a folder inside of it, realized EA’s backpack would need to be larger.
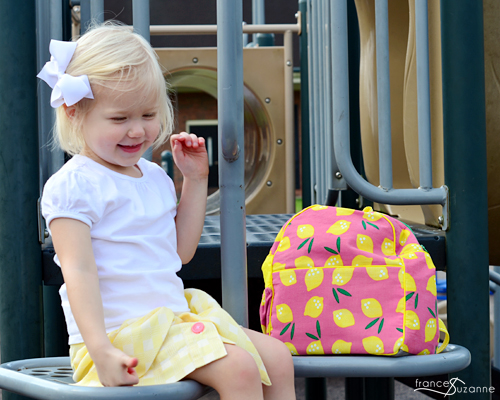
Don’t get us wrong: the backpack size is precious on CL . . . .just not as conducive for school items as we would like for it to have been.
One of the hardest parts of this pattern, is the selection process of coordinating fabrics. There are so many opportunities to use a variety of fabrics in a multitude of combinations. For those with decision-making deficiencies {ie: US!}, this is quite difficult!
We used a fabric from Rae’s Small World collection. So cheery . . . and happy.
LOVE, LOVE, LOVE this line of fabrics . . . and are already planning to stockpile some other fabrics from the collection for later use!
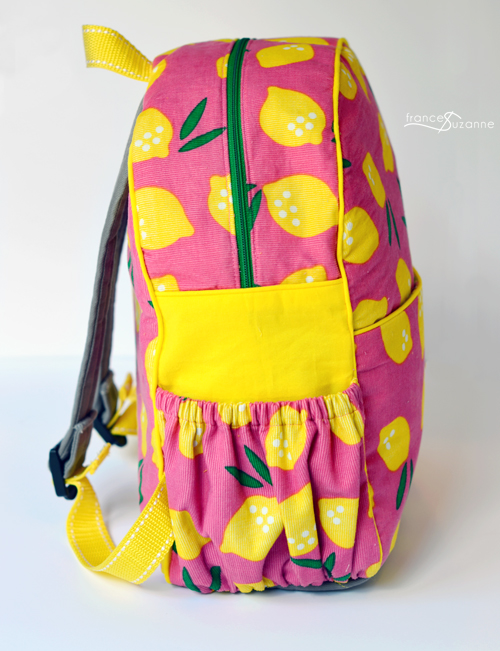
Although we didn’t increase the size of the original pattern, we did make some slight changes to the overall appearance.
1. We added an outside, lined pocket {allowing more storage and easy access for little hands}. This pocket can be created by using the main backpack pattern piece to gauge a new pocket pattern piece {the height of the pocket is left to your discretion}.
2. An additional elasticized, side pocket was added for water bottle storage. To do this, add some width to a side panel pattern piece {accounting for seam allowances} to make another piece – the pocket. Gather the bottom part of the pocket, and make a casing for the top section of the pocket piece. Run a piece of elastic through the top casing, fitting the pocket to the same width as the side panel. Sew in place.

3. We used a nylon tab {for the top of the backpack} instead of a fabric one. **This was the same nylon used for the bottom portion of the backpack straps.
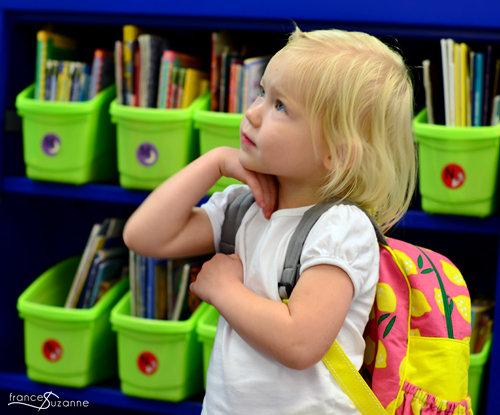
So . . . what did we learn from sewing these backpacks {you can see and read about EA’s backpack HERE}?
1. “The heavier the better!!”
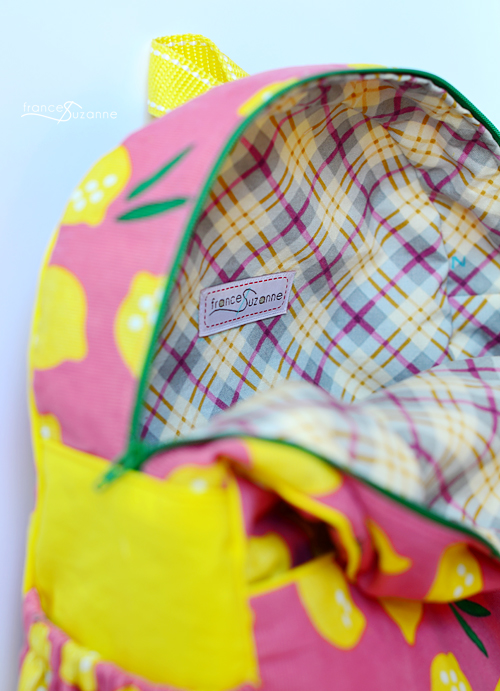
**Add thick interfacing LIBERALLY . . . we added it to both the outer fabric AND lining fabric. This gave the backpack stability and form. Also, use FUSIBLE interfacing if possible. This eliminates having to stitch the interfacing to each individual piece.
2. “Bigger is better!!”
*We added 2″ to EA’s backpack, and could have even added more.
3. The straps seemed a bit skimpy. In the future, we will make the padded area longer, as well as the nylon area that attaches it to the backpack.
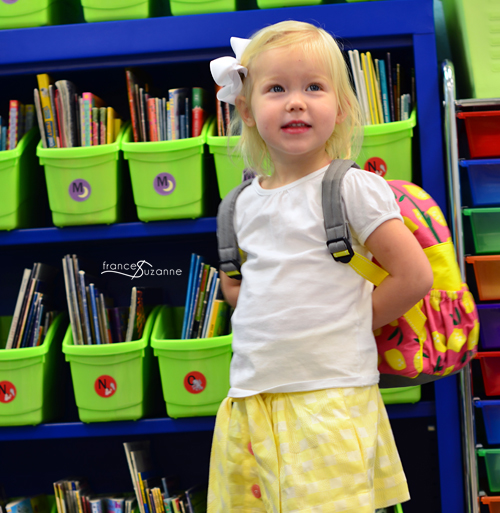
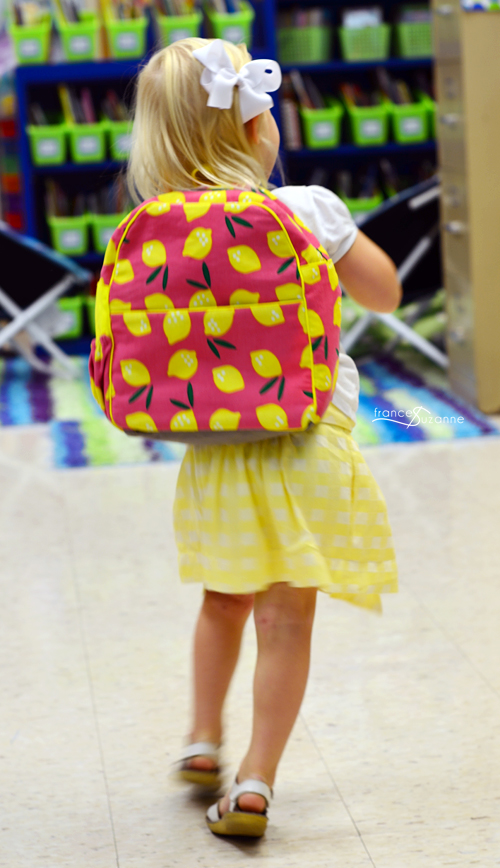
This backpack has gotten approximately 2 months of wear / tear and has held up remarkably well.
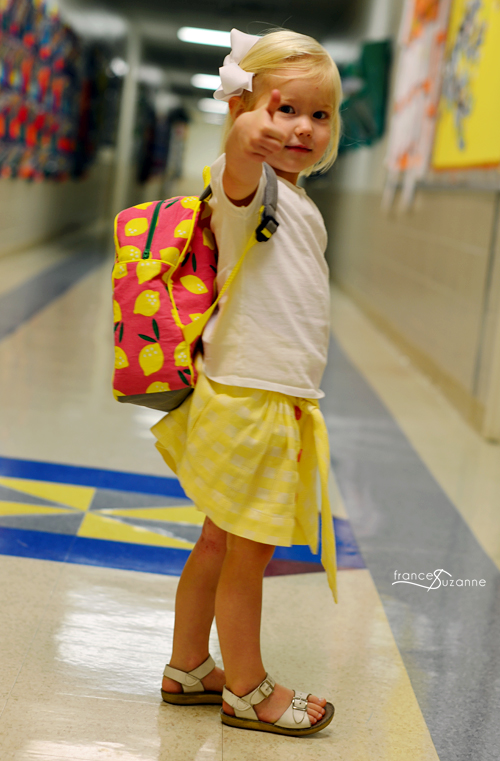
Keep in mind, CL doesn’t have the load of supplies being transported to and from school on a daily basis. But, she does have the element of a three year old to contend with. . .
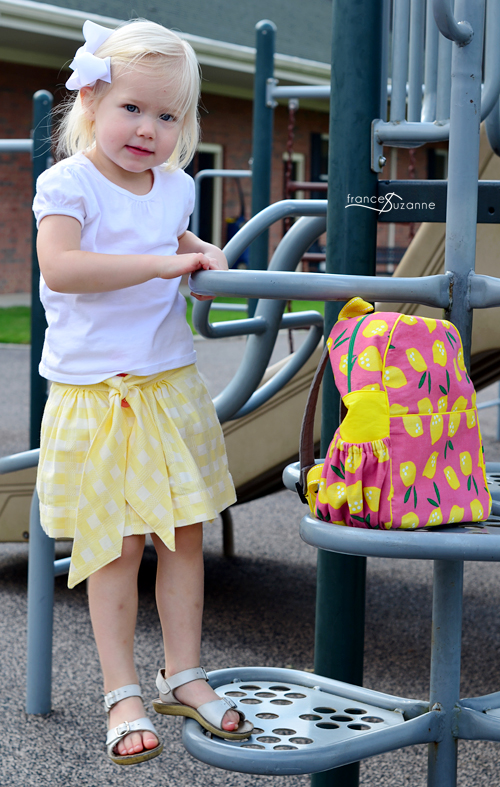
![]()

It is precious and adorable just like CL.
How are the girls, how is the family ? One can’t recover but do you feel “together” and a bit warm ?
What a darling CL is! That backpack turned out fantastic… I love the extra pockets. =)