


Follow Us on Pinterest
Unable to load Pinterest pins for 'FrancesSuzanne'

Mar
16
Hi all! We are over at Oliver + S, sharing how we have incorporated the “heirloom sewing technique” of tucks within a pattern. But, we couldn’t leave it with just one creation. So, we are sharing one over there….and another one here! If you are visiting from Oliver + S, we welcome you and invite you to stay for a while.
So, after deciding the two Oliver + S patterns to use, we decided to ask the Oliver and S “faithfuls” in the forum which patterns they’d like to see utilizing tucks.
Our question to them: Which patterns would you like to see with some additional tucks? Do you have any ideas on how to incorporate tucks within a tried and true O+S pattern? What type of tucks would you use on “said pattern”?
Answers included {besides the discussion of “growth tucks” in a plethora of patterns}: Lullaby Layette, Playdate Dress, Picnic Blouse, Library Dress, Garden Party Dress, and ….. the Carousel Dress.
SCORE!! One of the two patterns that we were in the process of sewing…
The lines on this pattern really give the sewist a blank slate to be creative!
Making the tucks was easy – peasy. Time consuming? YES.
But…SUPER EASY.
Since buying the book, Tantalizing Tucks, while attending SAGA’s Sewcation, we had been itching to give a few of the variations a try!
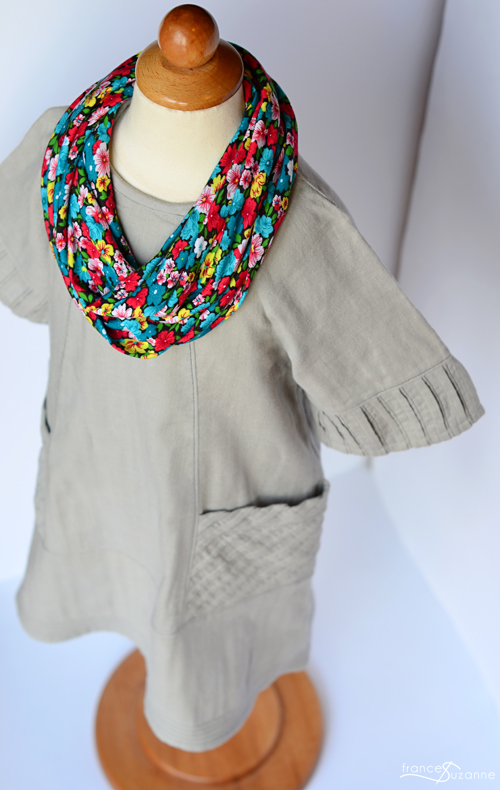
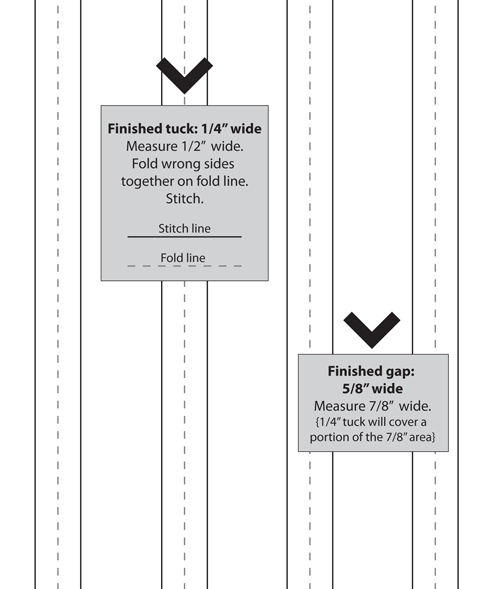
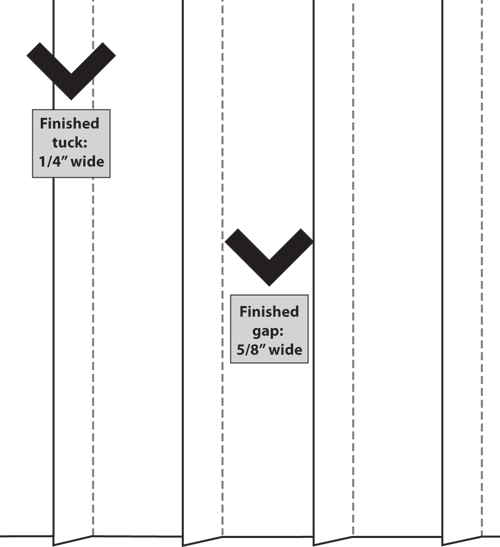
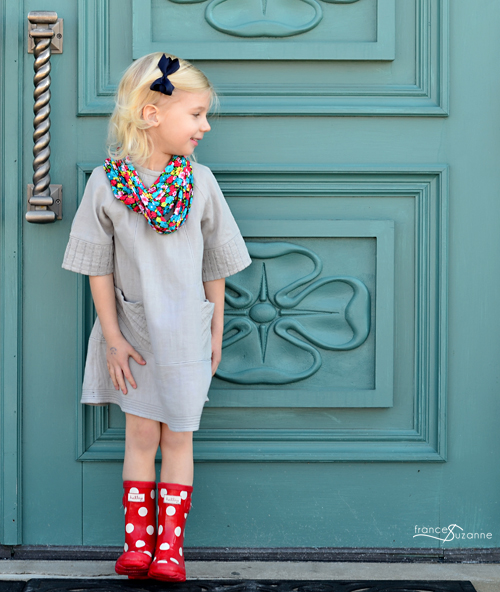
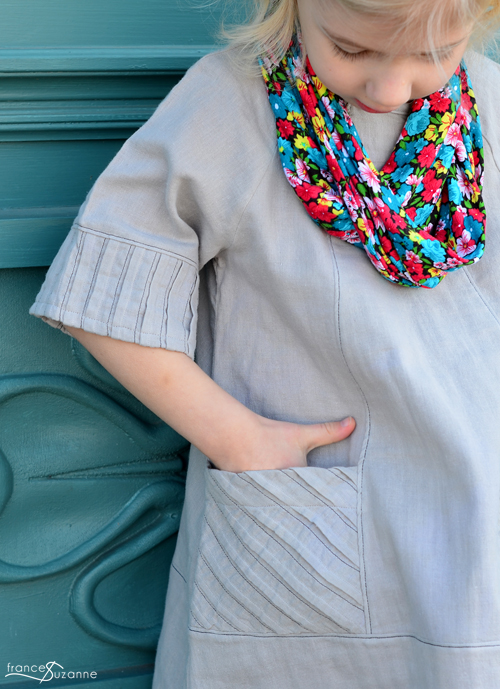
A tuck is a merely a stitched fold of fabric, sewn wrong sides together. Tucks come in all shapes and sizes – basic tucks, narrow pin tucks, wide tucks, spaced tucks, blind tucks, and graduated tucks to name a few. To make a tuck, it is recommended to practice with scrap fabric to get the spacing and width of the tuck the way you want it {before using the actual fabric}. After experimentation, we decided to add 1/4″ spaced tucks to the pockets and sleeve cuffs. A 1/2″ was allotted for each tuck {1/4″ on each side}, and then 7/8″ was measured between them.
To prepare our fabric, we sewed several rows of spaced tucks on a large piece of double gauze fabric prior to cutting out the pocket and cuff pieces.
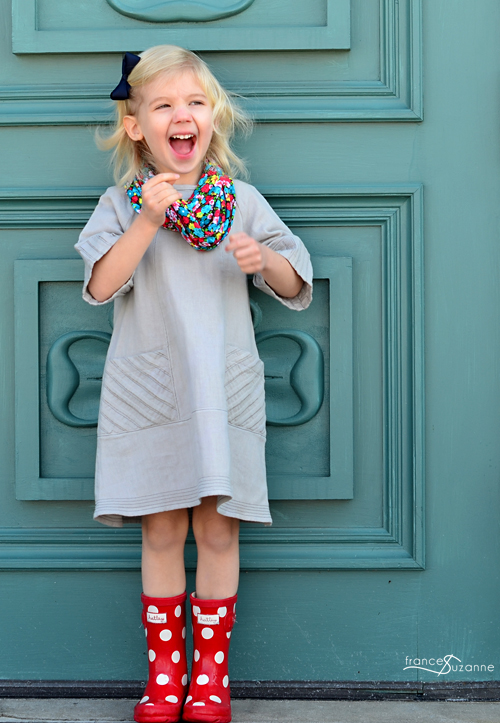
After pressing our tucks in the direction they were to go, we added navy top-stitching between each tuck…off-setting the top-stitched lines to draw more attention to the tucks.

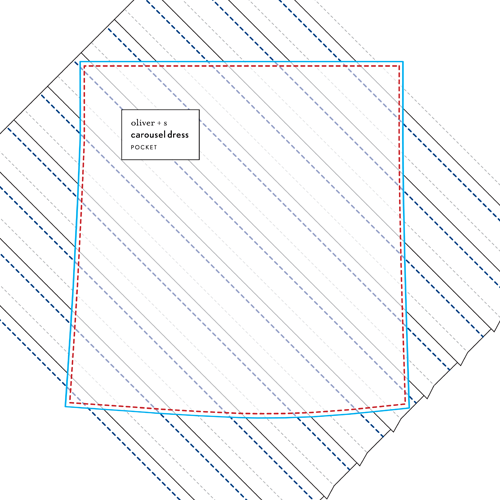
Then, the pattern pieces were traced onto the prepared fabric. This was done to ensure proper position of the tucks in relationship to each of the pattern pieces. In order for the tucks to be secure, we stitched right inside the traced line before cutting the pattern pieces.
This was our first time to sew with double gauze fabric {purchased HERE from imagine gnats, one of our “Flip this Pattern” sponsors}, and to say it was dreamy is an understatement!! It is sooooo soft!! The airy nature of the fabric was great for sewing multiple tucks without weighting down the person wearing it. Since it wasn’t a stiff fabric, it did move and stretch a bit while sewing which isn’t as conducive for sewing tucks.
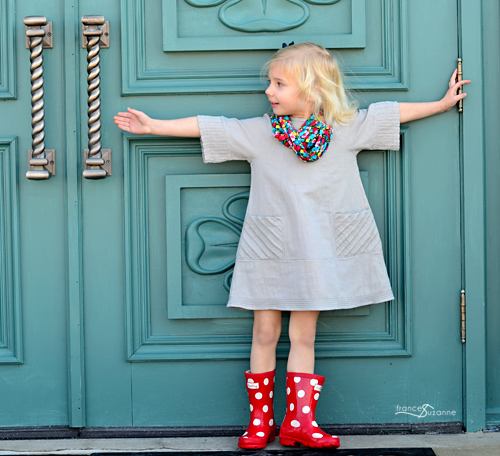
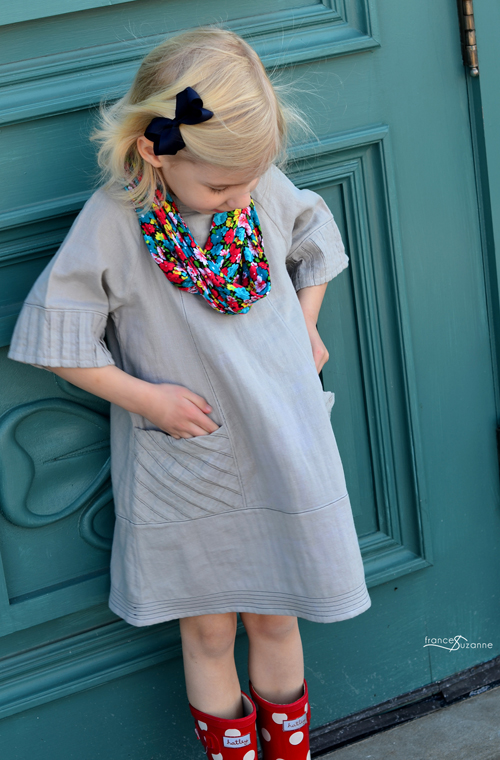
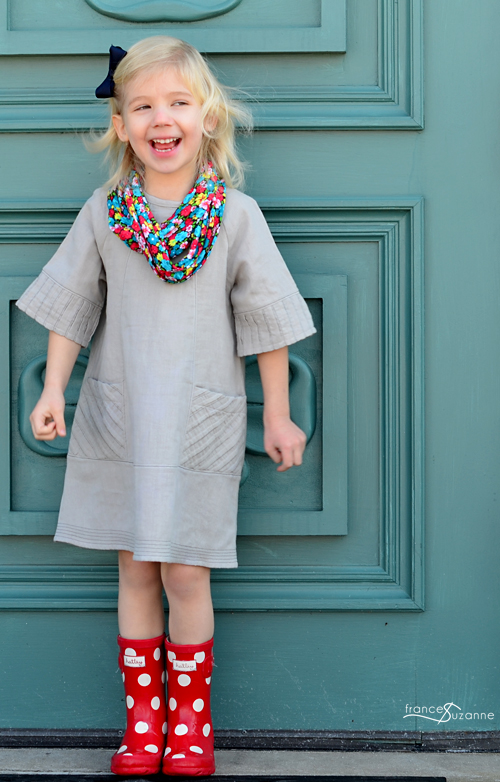
Then, we turned the direction of the tucks on the pockets to add another dimension to the outfit.
Since the entire dress was made with a gray double gauze fabric, we felt it needed a little more POP to add to the “WOW” factor.
So, we added top-stitching. LOTS of top-stitching.
Okay….okay….so the Carousel Dress already calls for a good deal of top-stitching.
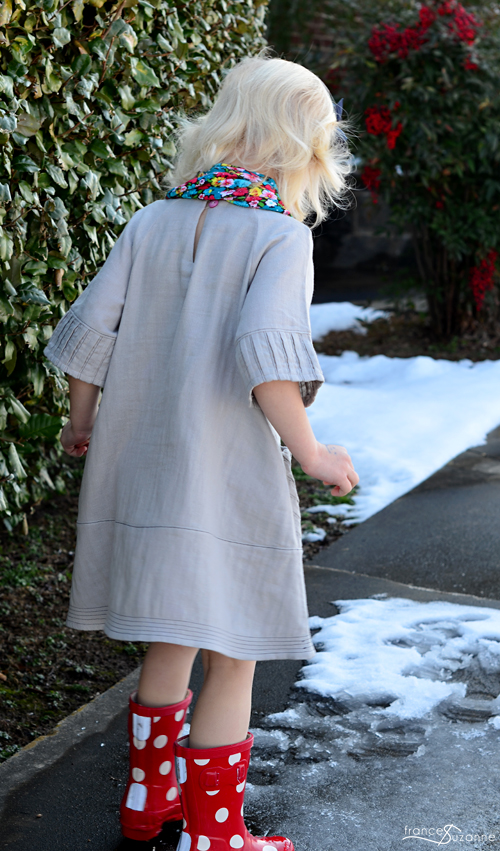
Besides the additional top-stitching between prepared tucks, we added 5 rows of top-stitching to the hemline as well.
After completion, we realized we needed more, more, more “WOW FACTOR”.
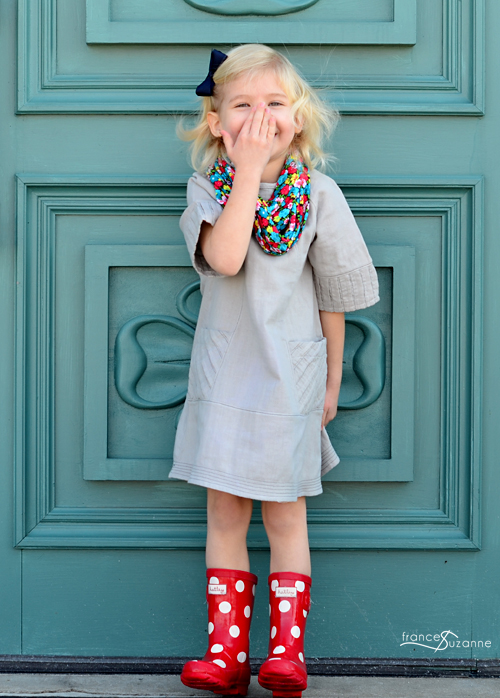
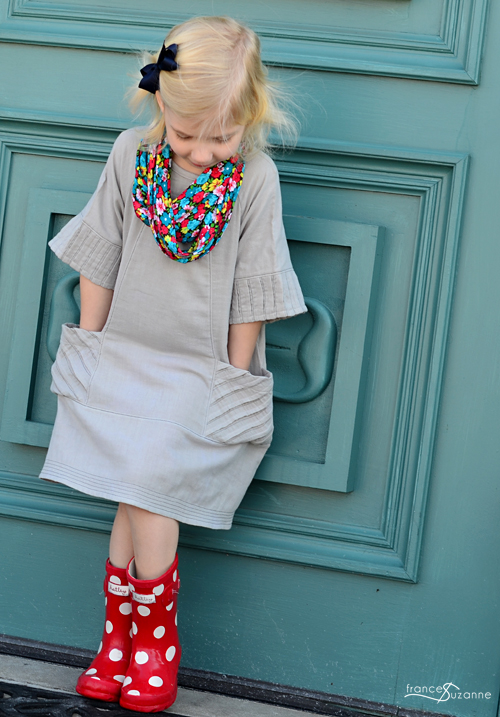
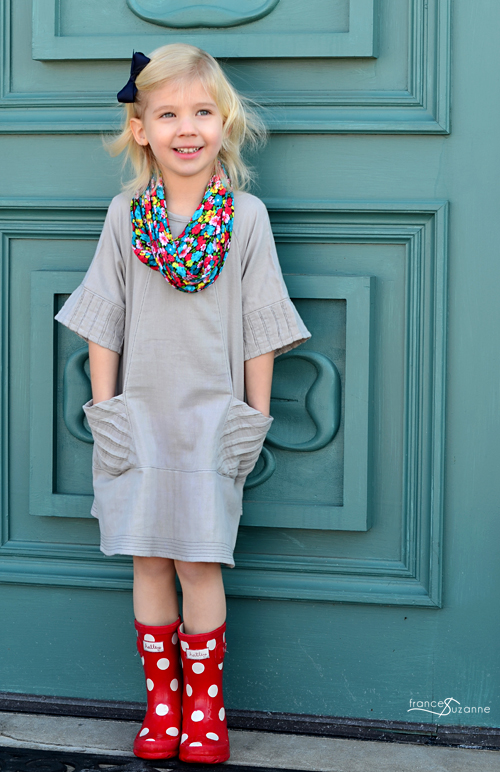
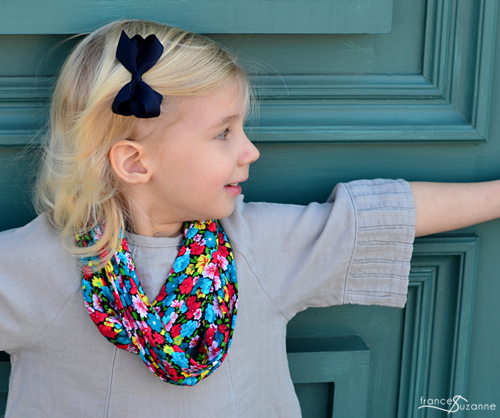
So, we gave EA the option of adding a scarf accessory, and were met with a resounding, YES!
It was a tough choice – bicycles or flower fabric – but the flowers were too much to resist.
It might have something to do with her LOVE of this particular outfit we recently made her….
As for the tucks? There are so many variations and placement of tucks that would work with the Carousel Dress, you really can’t go wrong with position or placement! It is such a simple dress that lends itself to adding some special touches.
Still, we are curious….which Oliver and S pattern would you like to see incorporate tucks??

![]()

This is so beautiful – just saw it on IG . I used that same double gauze(from Rachels shop) for an oliver and S forest path cape this month with topstitching squares on it. I love the detail on the sleeves and pocket – she will be able to wear this for a long time.
ooh! heading over to check that out!!
this is just fantastic!! I’m not sure I have the patience 😉
Let’s just say – we didn’t want to make a tuck for quite some time after these creations!!
What texture you’ve created with the tucks! And your styling and photography is fantastic!
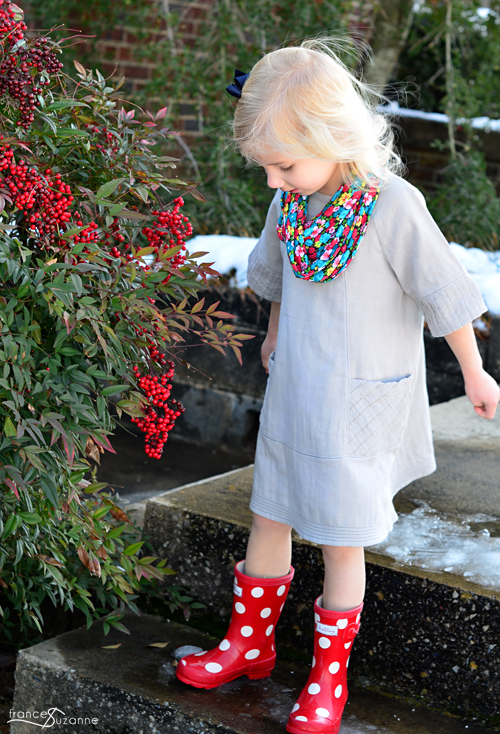
Thanks, Rachel! Those rain boots have come in handy {for styling purposes} more than once…and EA did well selecting her scarf fabric to coordinate nicely.
We just finished an Oliver + S pattern today, one that has a few pintucks…the Music Class Blouse and Skirt. But (for reasons that’ll be on the blog tomorrow!!) we gathered instead of making the pin tucks. But next time…pintucks here we come!
Your creation is just gorgeous!! I love how it was paired with the Aster Cardigan….
Wow! Love the use of the pintucks on this dress. It looks adorable on your niece. (Love the boots, too!) The Ice Cream dress is stunning with the addition of the pintucks. I always love when you add a little hand embroidery. It just takes any dress ‘to the next level’. Bravo!
Thanks Karen!! Our handwork pales in comparison to yours…but we really like to add that “special touch!”
[…] am also envisioning a Carousel Dress using lace, inspired by Frances Suzanne’s version here to make a dressier Carousel for the winter holiday season. It’s just a matter of finding the […]