


Follow Us on Pinterest
Unable to load Pinterest pins for 'FrancesSuzanne'

Oct
22
Crystal, from Stitched by Crystal, is here to give you her “Flipped Creation”
for the Brownie-Goose, Hattie.
*******************************************************************
Hello! I am Crystal, from Stitched by Crystal and I am so thrilled that I get to share my flip of the Brownie Goose Hattie Dress with you today!
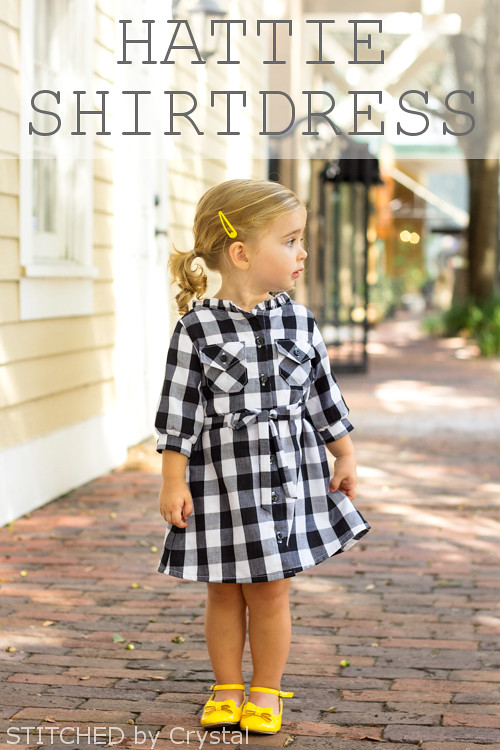
When I received an email to sign up for a pattern to flip I wasted no time signing up for the Hattie dress. I love everything about the dress…the ruffle neck, the a-line shape, the bishop sleeves, the little box pleat…everything! So I had a really hard time flipping this dress, I wanted to keep all of it! My first thought was a 60’s style swing coat, but we live in Florida and don’t get much use out of coats, I wanted something that would be practical for my daughter for fall. So after a lot of brainstorming, I settled on a Hattie shirtdress and I am so excited about how it turned out!
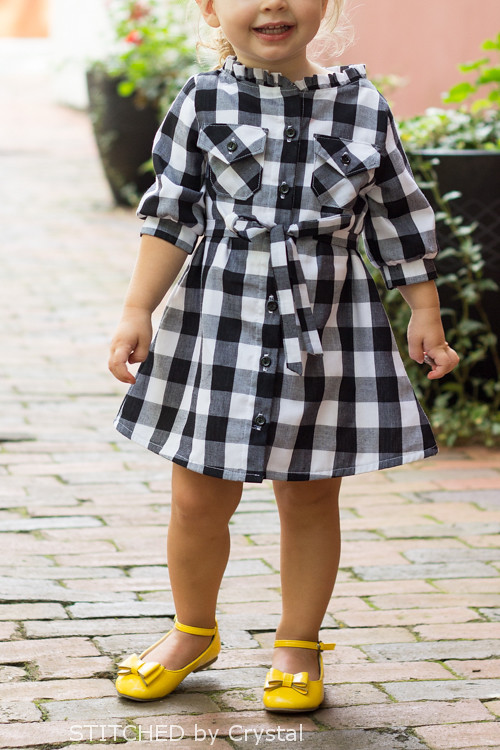
I wanted to keep the retro look of the original Hattie design so picked a classic black and white gingham fabric to compliment the 60’s style of the Hattie dress…and also because gingham is my newest sewing obsession! Keep reading for all the changes I made to flip the Hattie into this shirtdress!
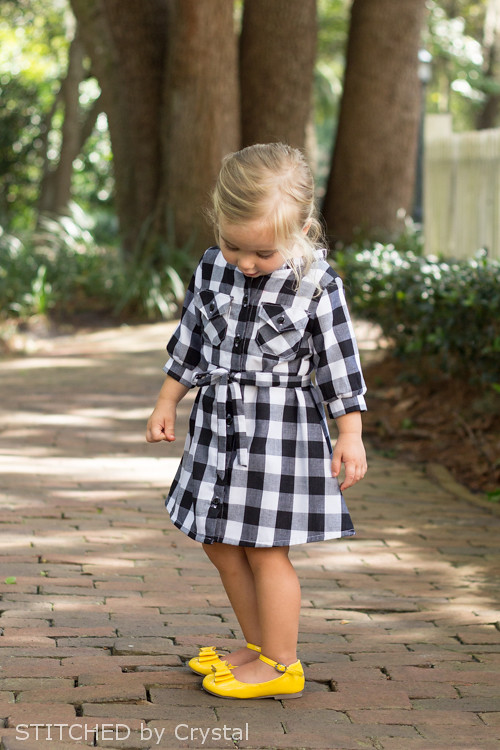
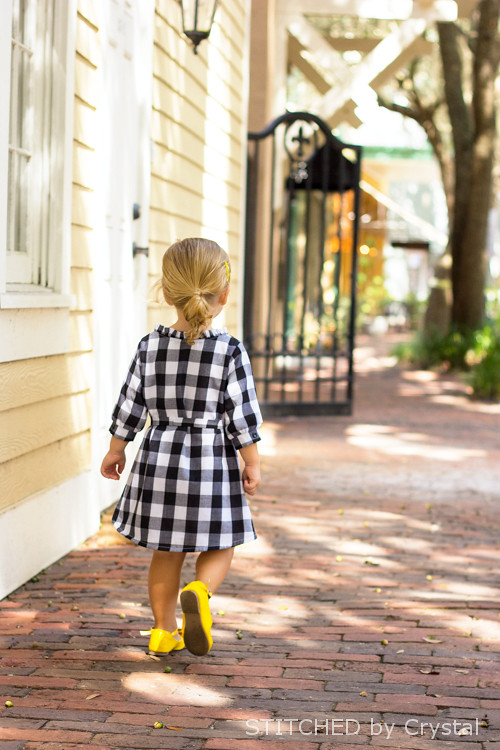
I kept the basic shape of the dress but made I flipped it around so it opens in the front. The Hattie has a little slit at the back of the neck that closes with a button. To make mine button in the front, I trimmed the ½” seam allowance off the back pattern piece and cut the back on the fold. Then I added 1.5” to the front pattern piece so I had fabric to fold over to make the placket. I kept the length of the dress the same as the pattern, I love a dress that shows those toddler knees!
I kept the ruffle neckline (my favorite part of the Hattie). I left the ruffle the same size, I only changed it a bit by curving it at the front button placket. I made my dress fully lined so the ruffle has no exposed seams at the neckline.
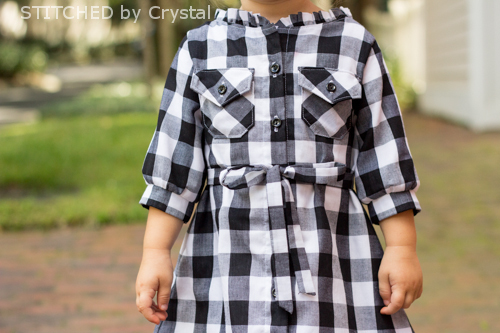

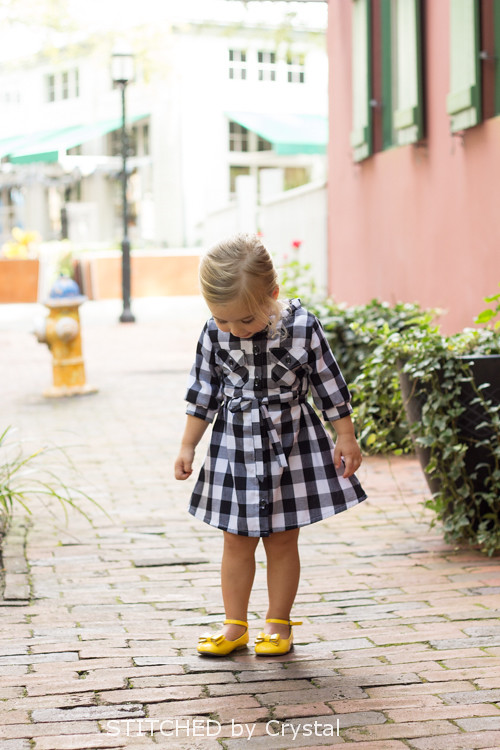
I slimmed the sleeves a bit and made the cuff a bit smaller for a more tailored look. I cut the sleeves to ¾ sleeve length and added some little buttons to the back of the cuffs.

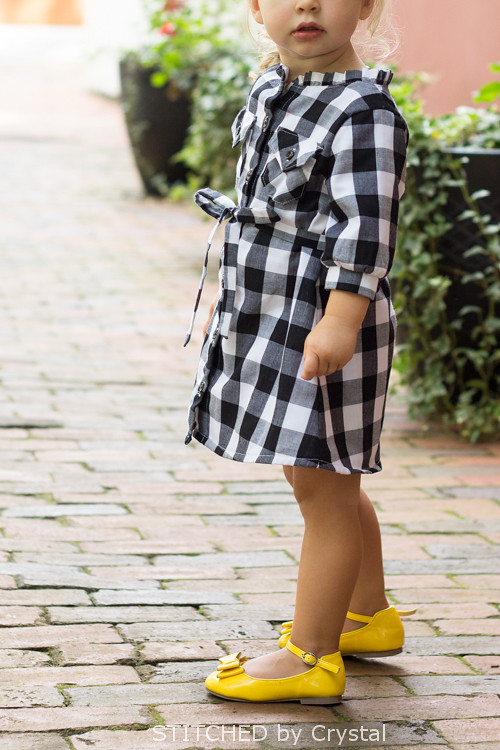
And finally, I added two chest pockets that I cut on the bias and a thin sash to tie around her waist. The pocket flaps have faux buttonholes with buttons sewn on top so she can stash her stuff in them without having to unbutton, her fingers are still a bit too small for unbuttoning.
Thanks so much for checking out my Hattie Shirtdress and thanks to the lovely ladies of Frances Suzanne for inviting me to Flip this Pattern! I can’t wait to see what the other talented ladies do with this great dress pattern!
*******************************************************************
Flip this Pattern: Fall 2014 is sponsored by Imagine Gnats Shop, So Tweet Fabrics, and Glam Fabrics. Thank you all for showing such support in the sewing community and this series! We appreciate you!!
![]()

This is so precious!! She is adorable.
Might you remember where you got the shoes, Crystal? They are perfect with this dress.
Thanks so much Erin! Those shoes were a thrift store find and they don’t have any sort of label on them. I have seen similar ones on joyfolie but I think these are a bit different. She LOVE those shoes, calls them her Minnie Mouse shoes
So adorable, well done!
Thanks Chelsey!
Love everything about it!!!!
Thanks so much!
adorable!
Thanks Rachel!
Beyond precious!!!
Thanks Kari! I had so much fun with this!
Amazing job, Crystal! I love it! And it looks so adorable paired with the yellow, too!
Thanks Rachel! I spent way too much time deciding between red or yellow shoes! I am glad I went with the yellow 😉
The black and yellow combo is perfect!! What a fun dress for a stylin’ little girl!!
Thanks! This was such a fun challenge, thanks for having me!
Those pockets are perfect! And the print matching! Great stitching.
Precious…your dress and little daughter!
This is my favorite! I want one in my size!